The Traveler’s Ingredients contains affiliate links and is a member of the Amazon LLC Associates Program. If you make a purchase using one of these Amazon links, we may receive compensation at no extra cost to you. Read our disclaimer for more information.
Boots laced, bag packed, snacks secured, and we’re off! After years of choosing trails outside my abilities and going unprepared, I finally learned the tricks for picking the right hike and the items necessary to bring along. This list of hiking essentials is all you need for any hike you want to take on.
So, you just discovered hiking and want to experience more of the wilderness that is only accessible by walking, but you don’t know where to begin? Don’t worry, that was me just a few years ago. Even though I had gone on hikes before and grew up going on nature walks, I usually ended up hating my time on the trail. It wasn’t until I met my partner that I realized why it was such a struggle.
The very first hike he took me on, I showed up with an old, small backpack, hiking boots that were way too big, no snacks, and not nearly enough water. It was a testament to all of my past hikes. Thankfully, he brought snacks for both of us, water to share, and knowledge that enlightened me.
Although the hike to the top was a struggle, it was worth every breathless step. I couldn’t wait for our next hike, but this meant I needed to up my game with my hiking gear. Over the past two years, I have built up my hiking arsenal so I have the essentials for every hike, and now, I’m going to share that list with you!
*See the free printable PDF at the bottom of this post. Available in completed or blank versions.*
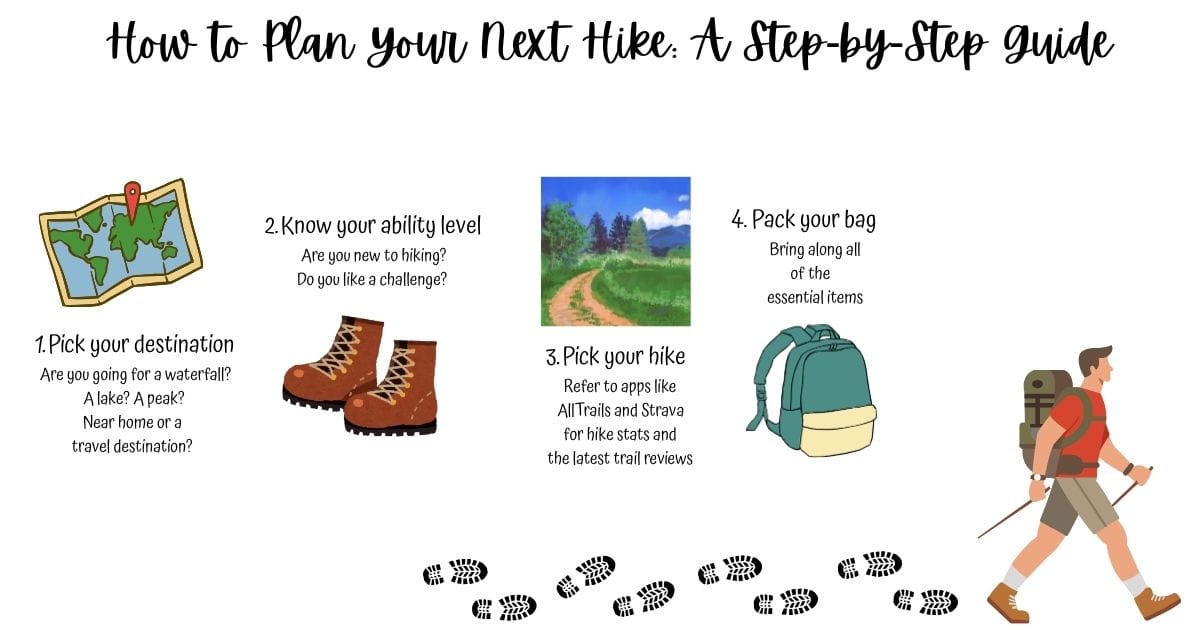
How To Pick The Best Trail: A Step-By-Step Guide
Step 1
Pick your destination. Probably one of the most obvious steps, but it is most often overlooked. Are you hiking near home or at your travel destination? Are you looking for something specific (i.e., waterfall, lake, peak summit, etc.)?
Step 2
Know your ability level. You know yourself best, so choose a hike that suits your abilities. If you are new to hiking and/or aren’t as active, then choose an easier, shorter, lower-elevation hike.
Step 3
Pick a hike. Apps like AllTrails and Strava are great tools for hiking research. You can view hike stats (mileage and elevation gain/loss), driving directions, trail reviews, weather, etc.
Step 4
Pack your bag. Make sure you bring all of the essential items needed for your next adventure and head on to the trailhead.
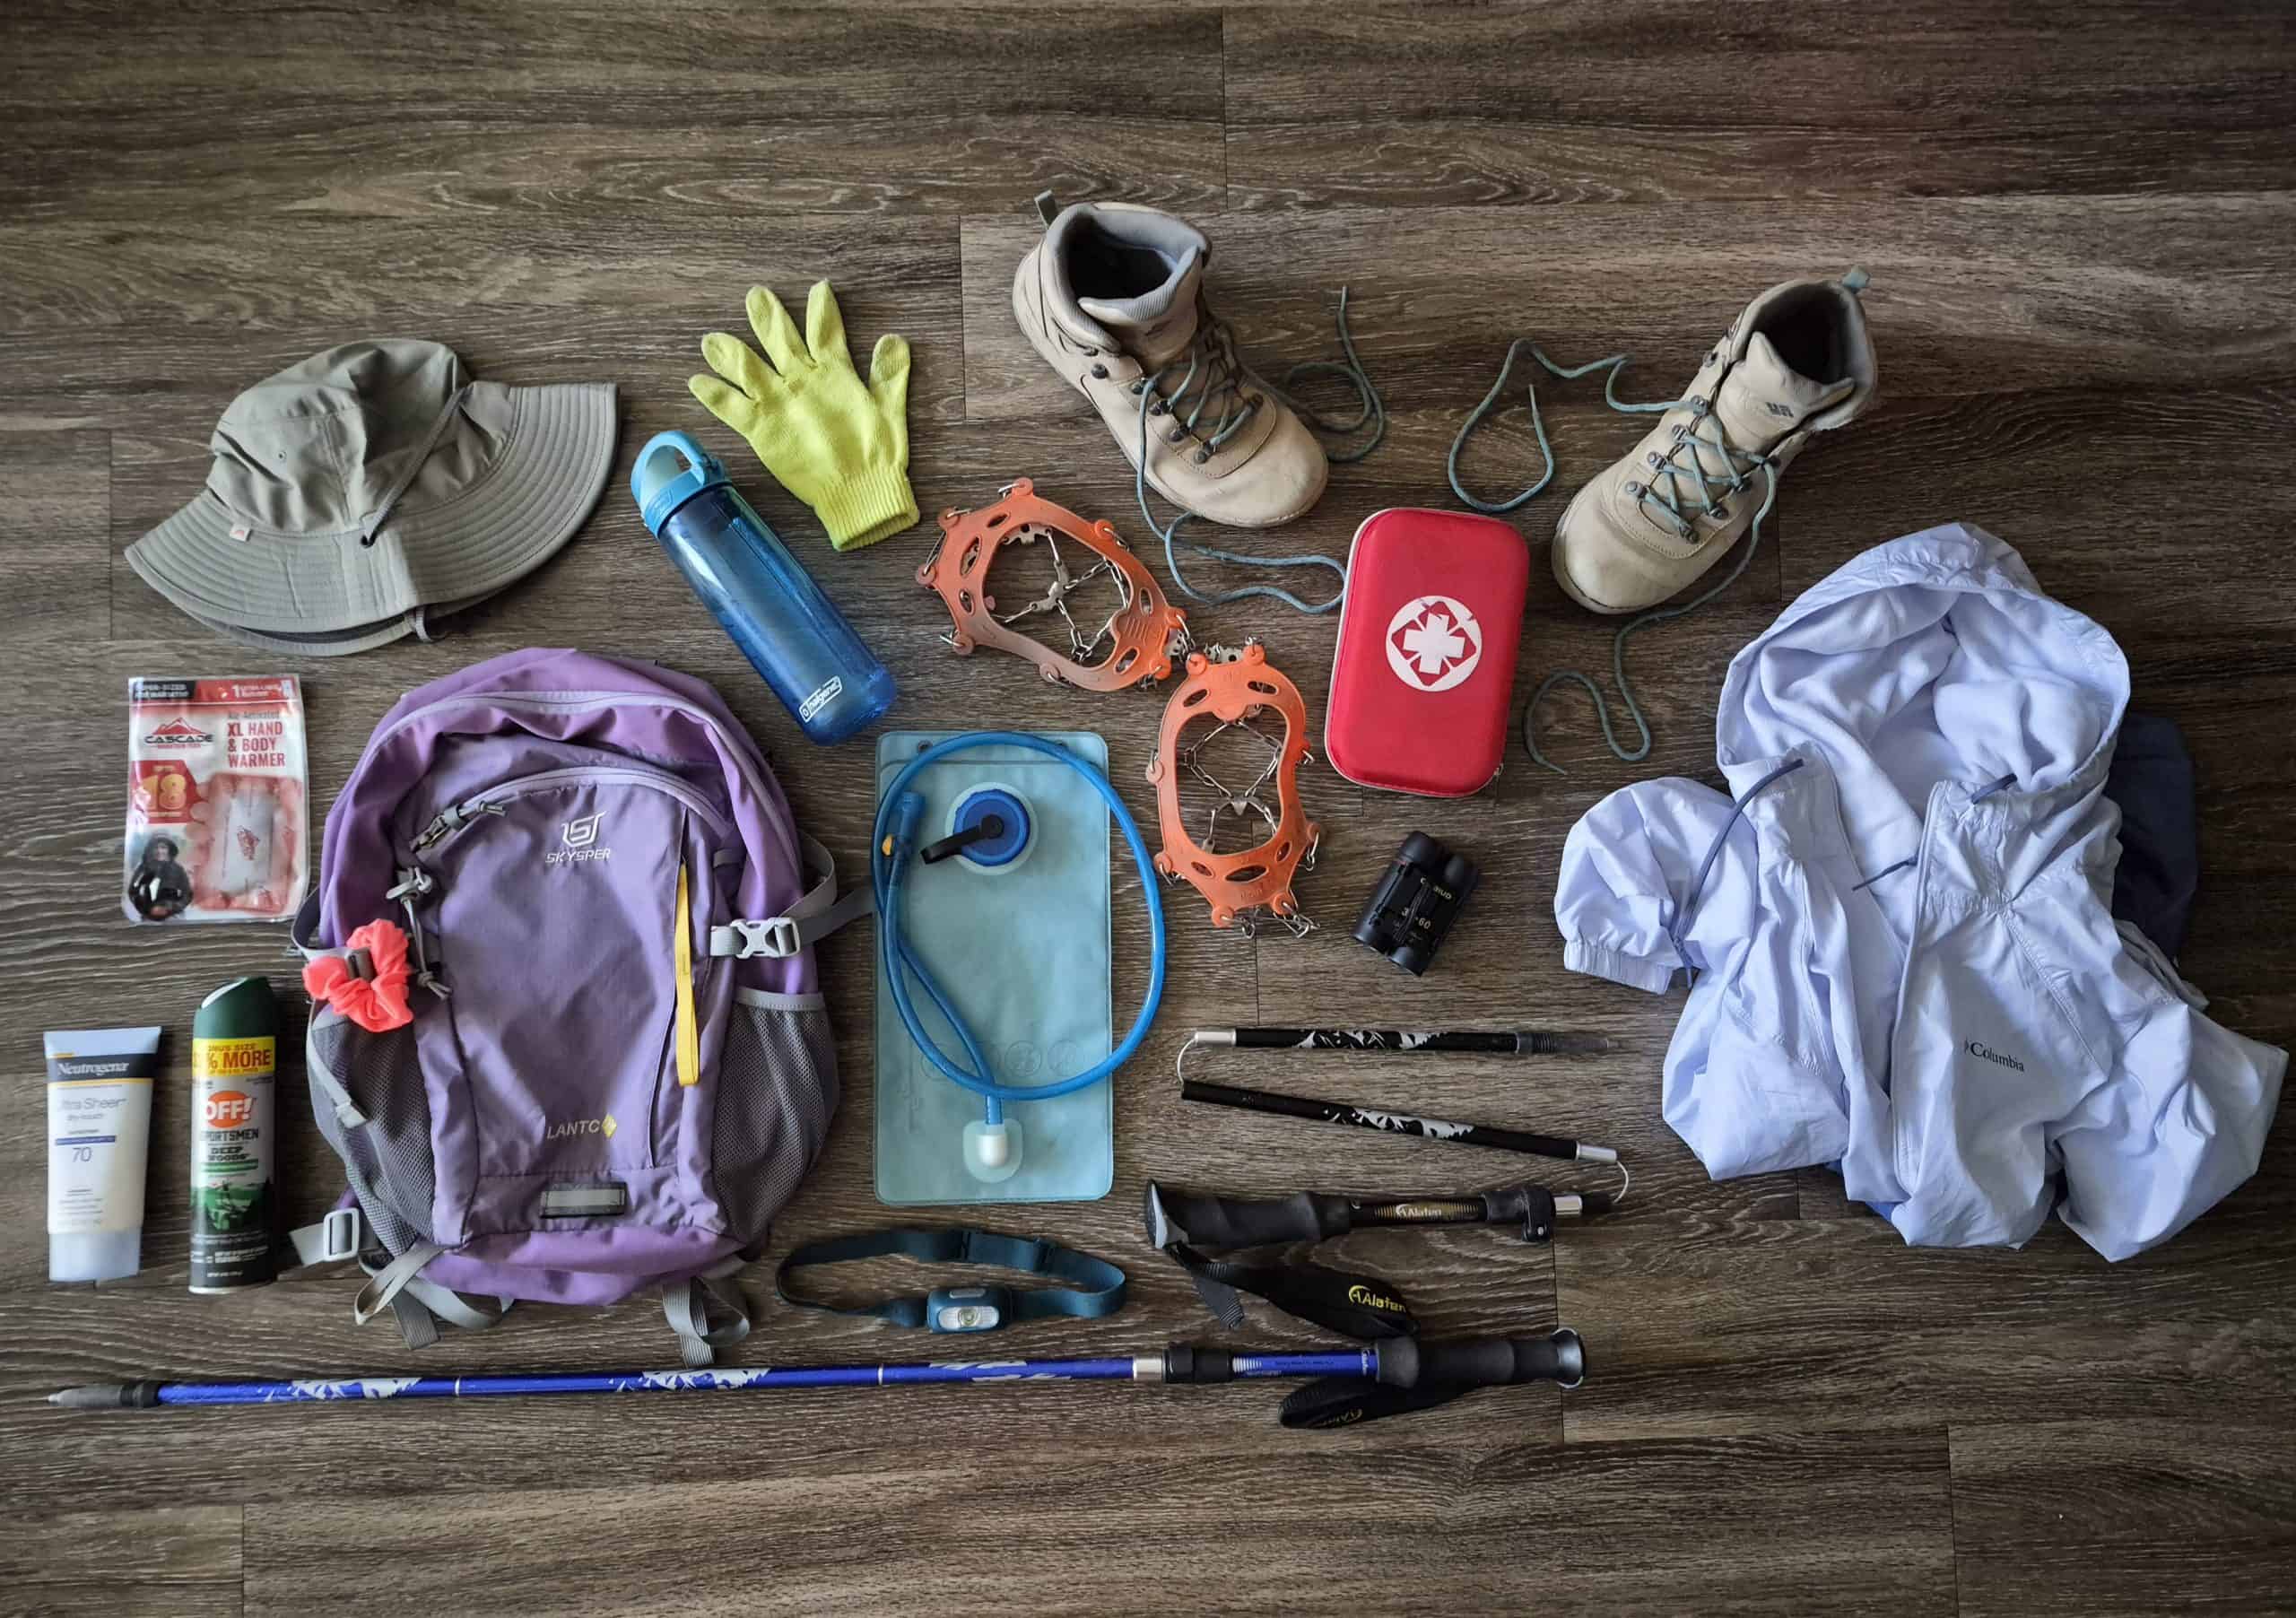
The Things Inside: What’s In My Hiking Bag?
General Hiking Essentials
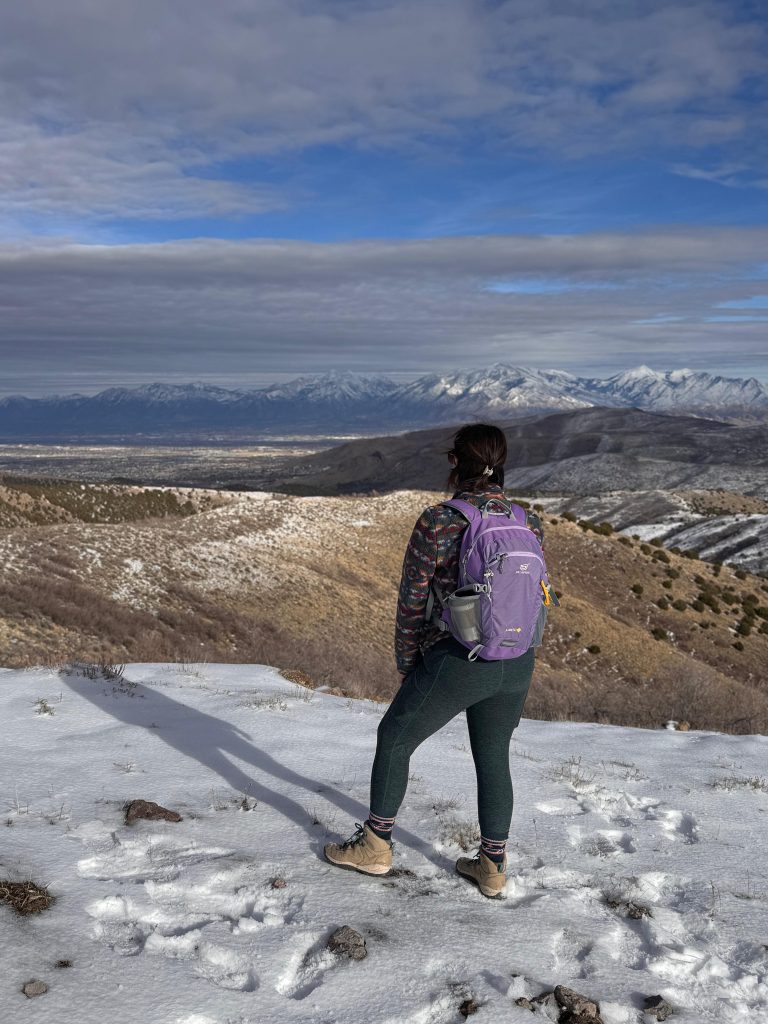
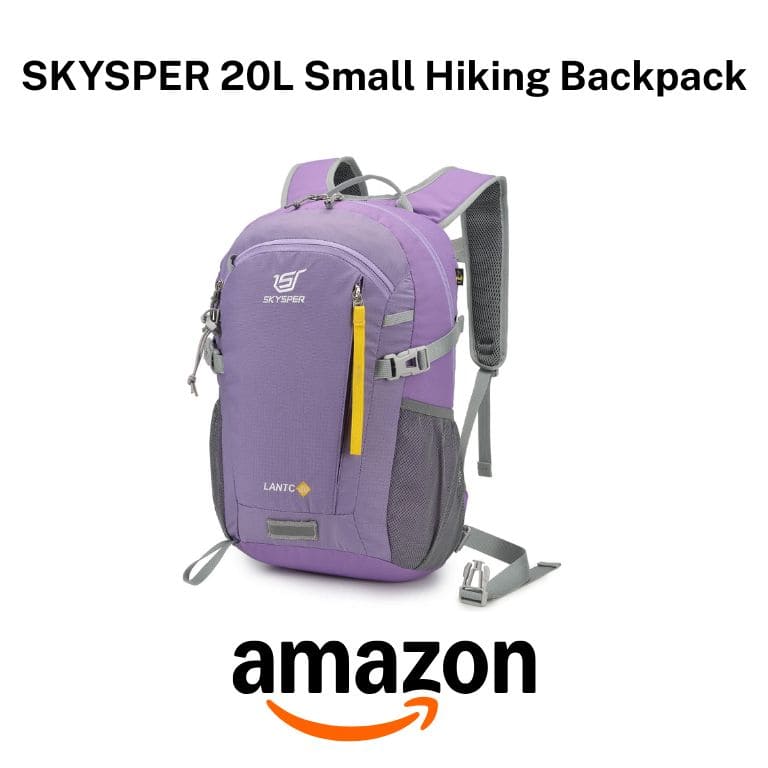
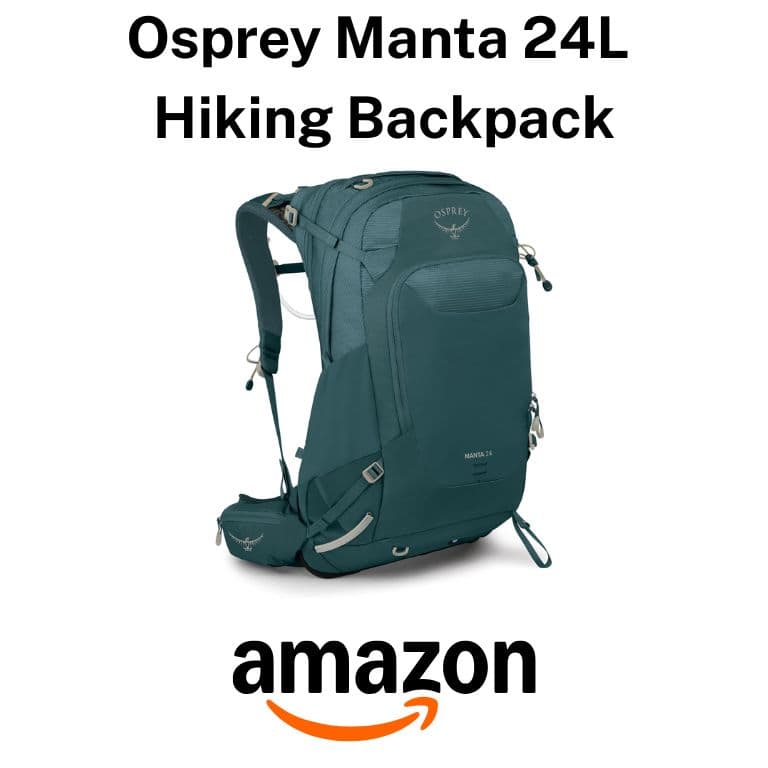
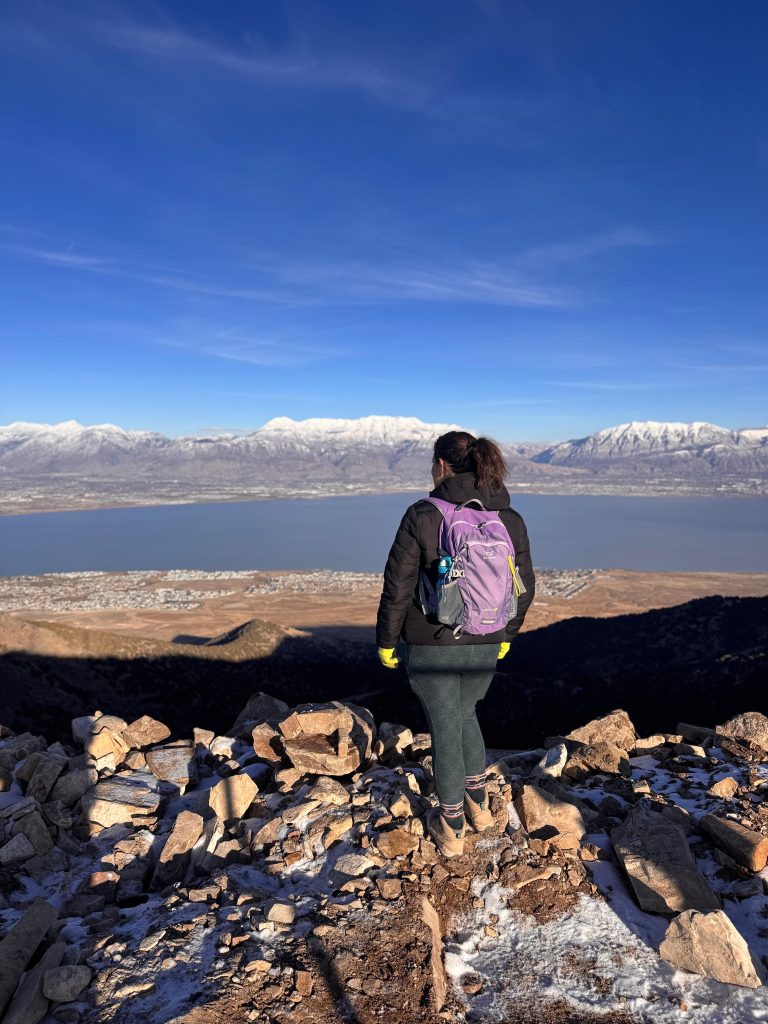
Backpack: a good backpack is crucial. It allows you to keep your hands free, holds all of your items, and ensures no back pain. My backpack is compact and has enough space for everything I need, but for longer day hikes, my partner swears by Osprey.
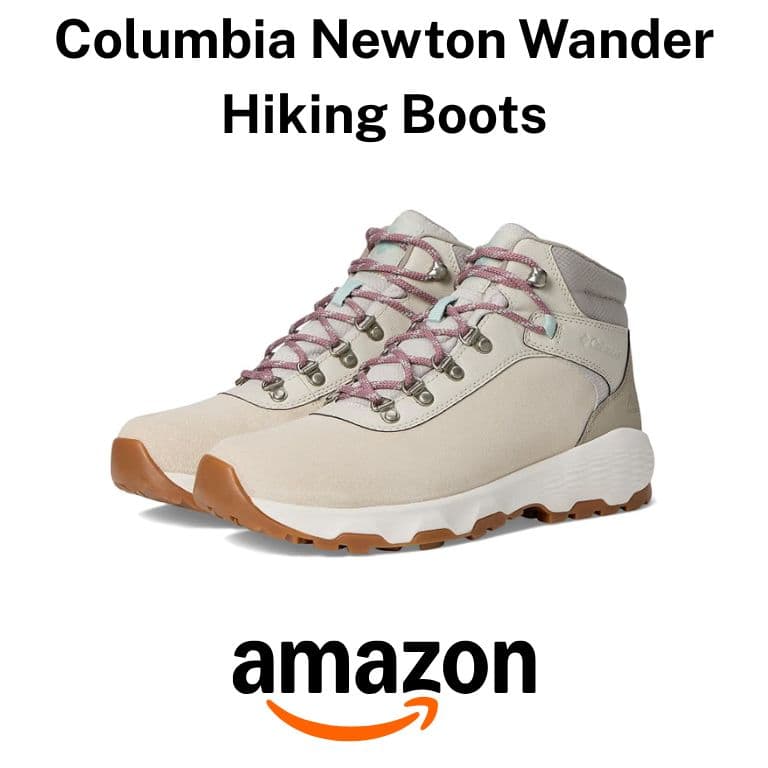
Hiking Boots: when you are hiking, you’re walking on uneven surfaces, so hiking boots are a must. Whether you opt for ankle support or not, my Columbia’s have never let me down.
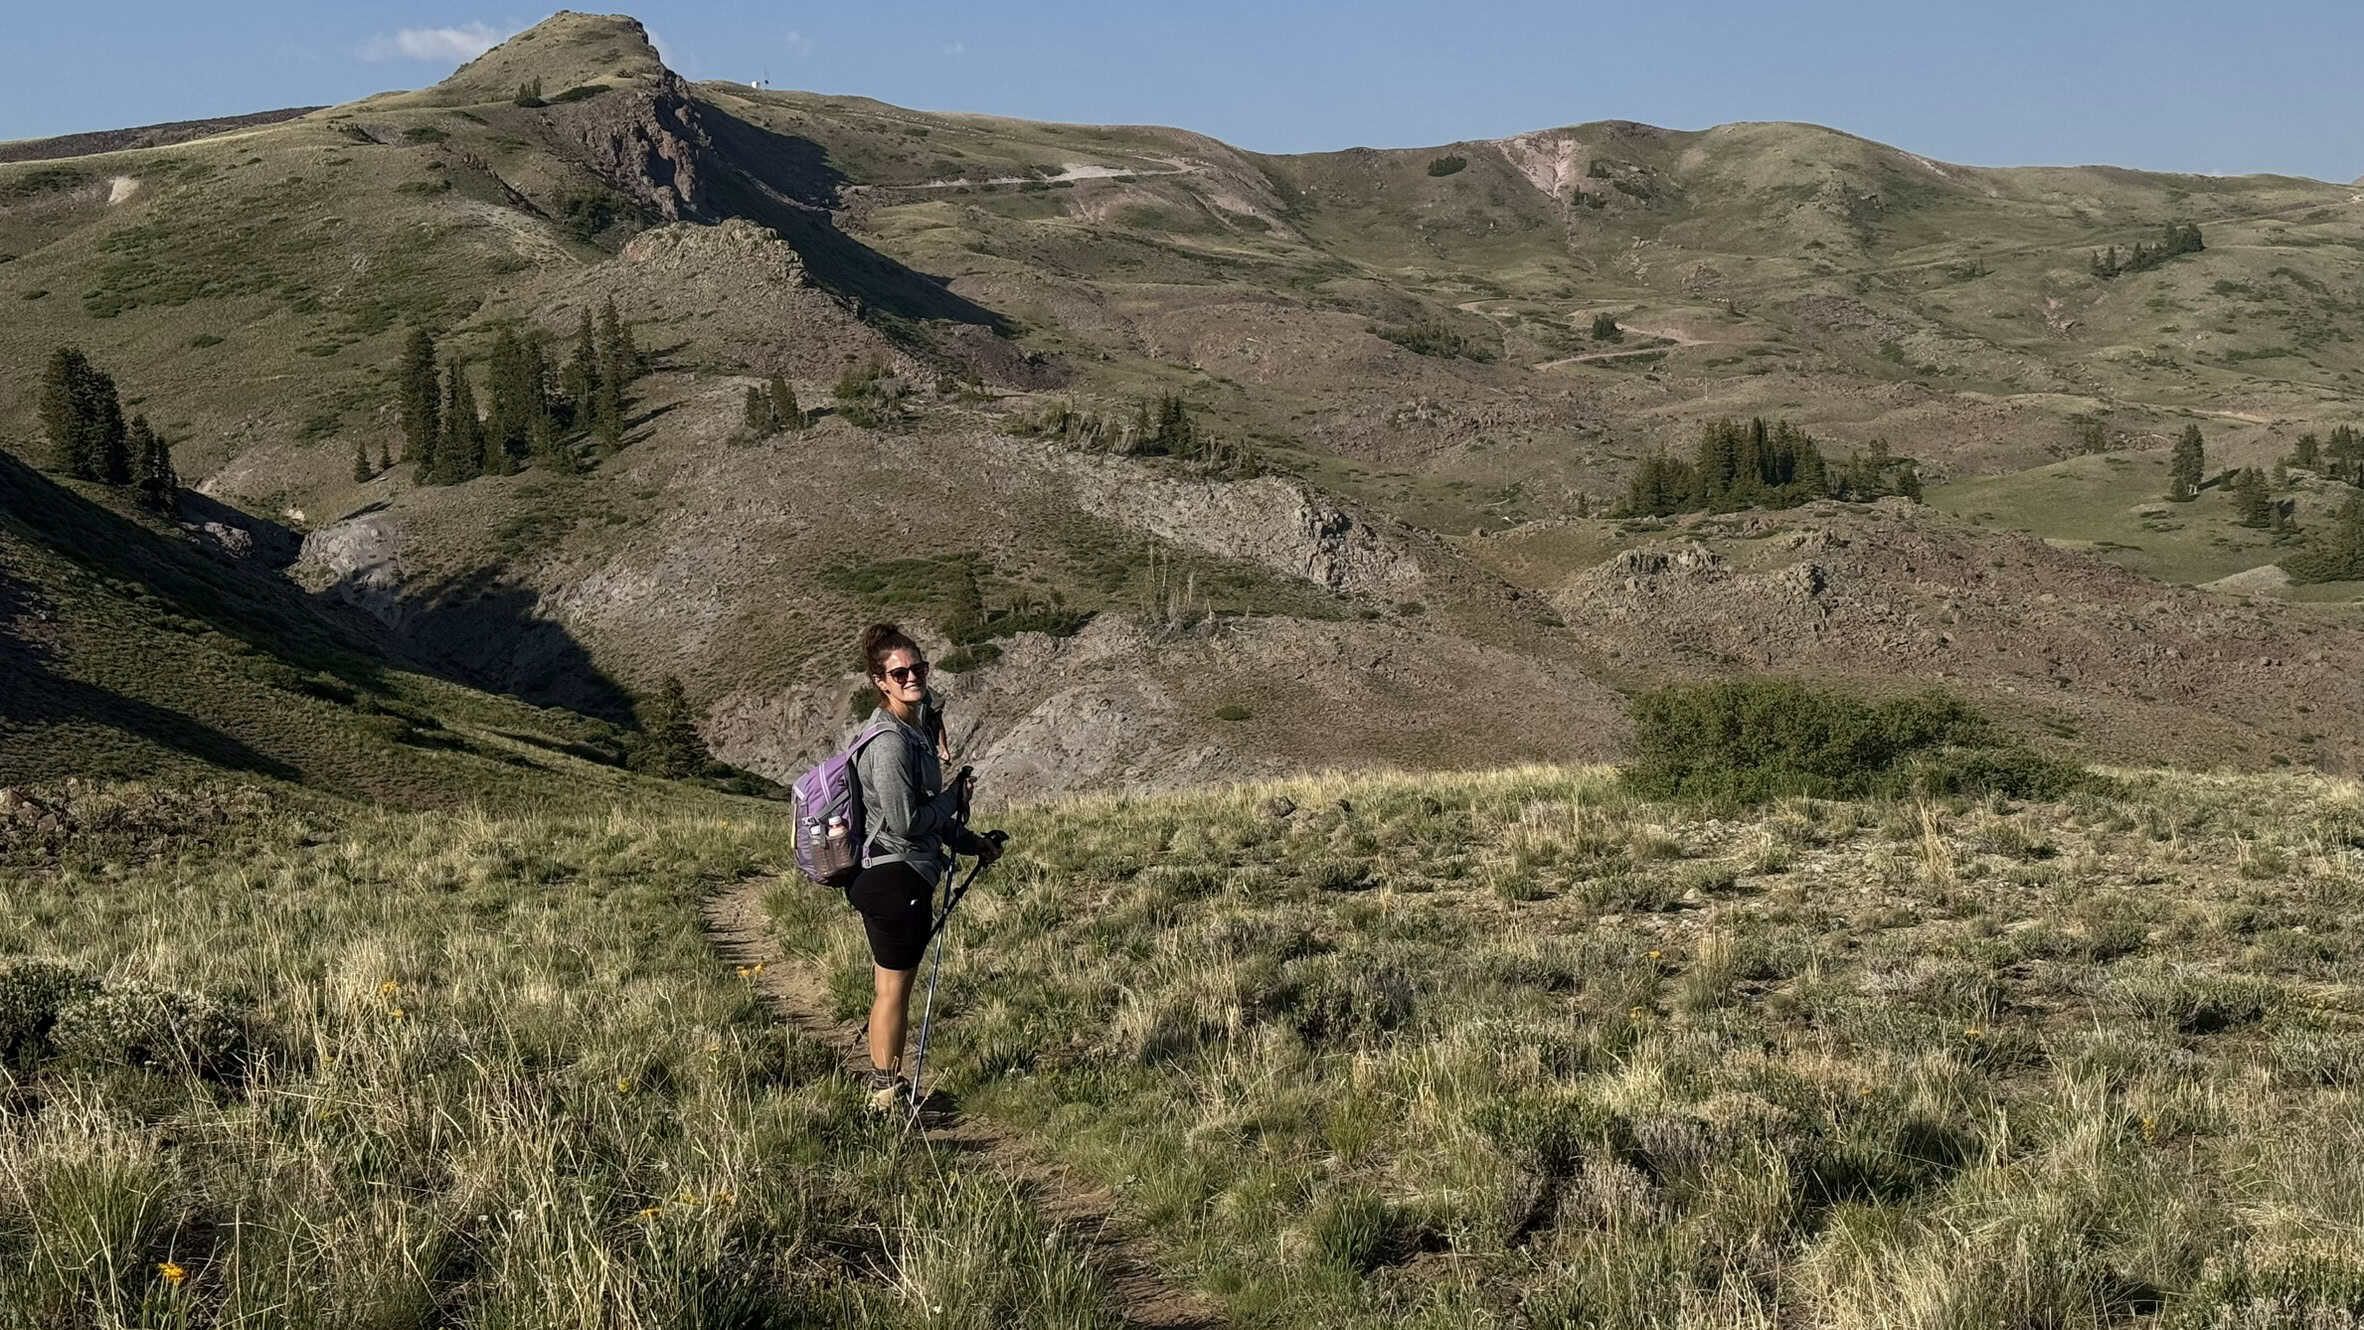
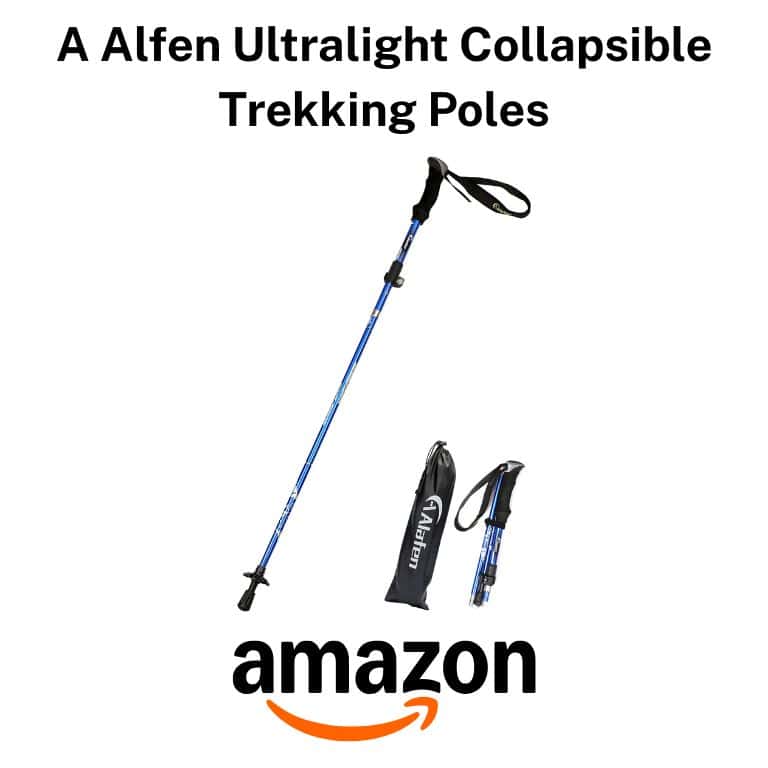
Trekking Poles: these are helpful for steep trails, as they offer support and also give you a mini arm workout in the process.
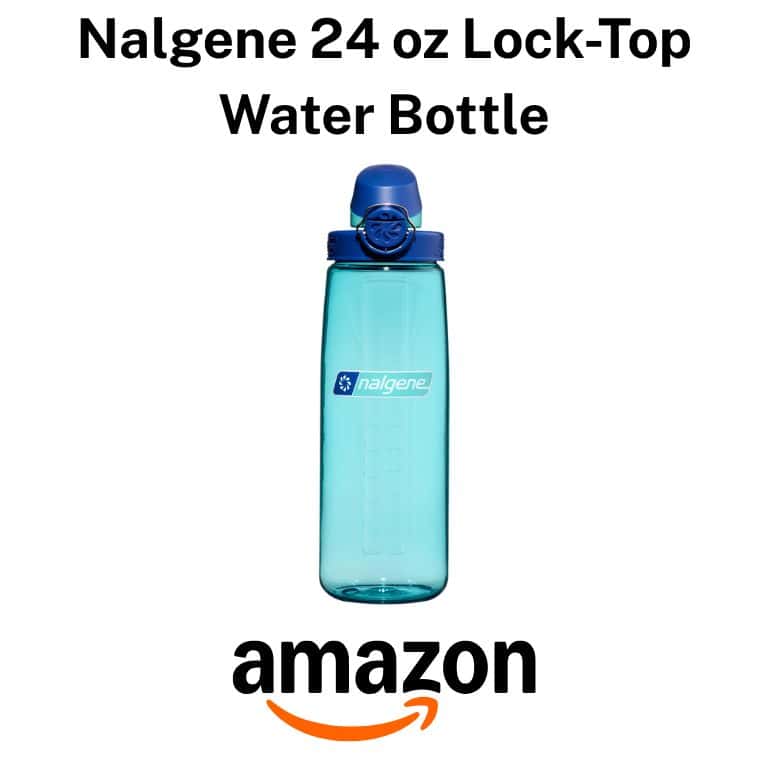
Water Bottles: I like to bring my lock-top Nalgene water bottles for my electrolyte water, which is essential for hiking days, and just keep them in the outer pockets for easy access.
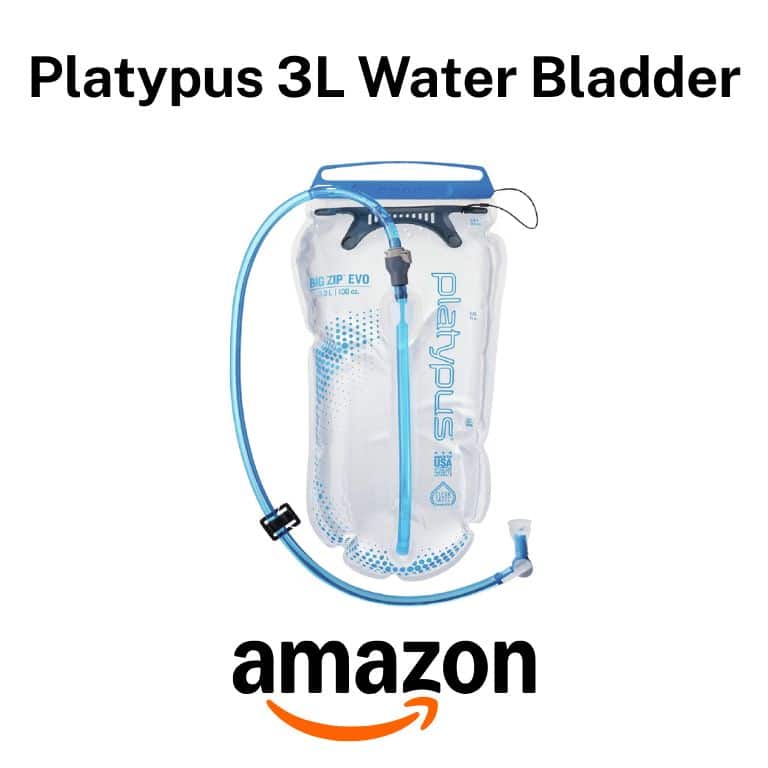
Water Bladder: this is great to keep filled in your backpack for more water and for effortless drinking.
Water Filter: this comes in handy if you run out of water, but have a stream nearby that you can filter water from.
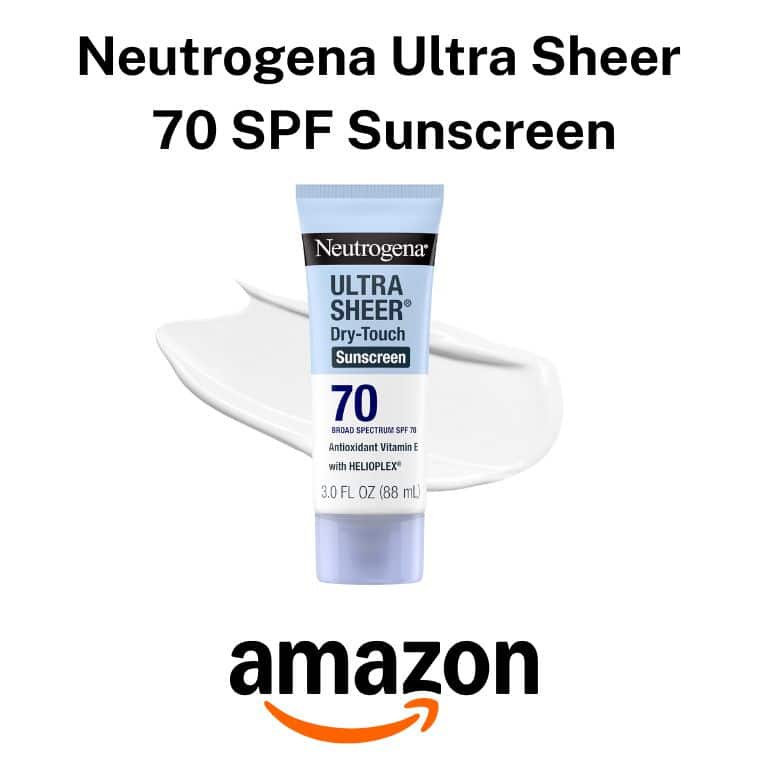
Sunscreen: make sure your skin is protected against harmful UV rays with this sunscreen.
Sunhat: this gives your face another form of protection from the sun.
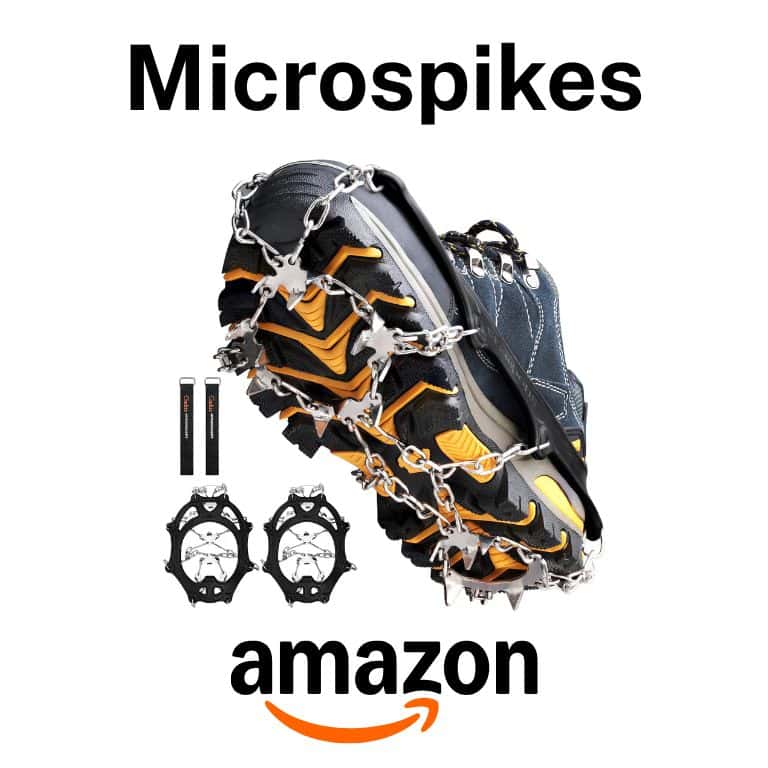
Microspikes: these have saved my life more than once on snowy, icy trails, so my microspikes live in my backpack year-round.
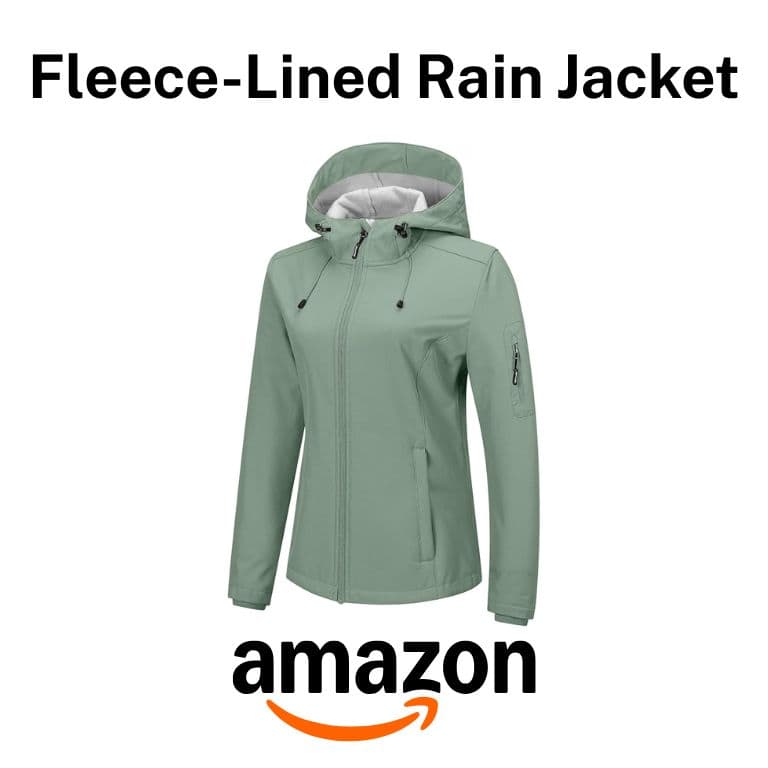
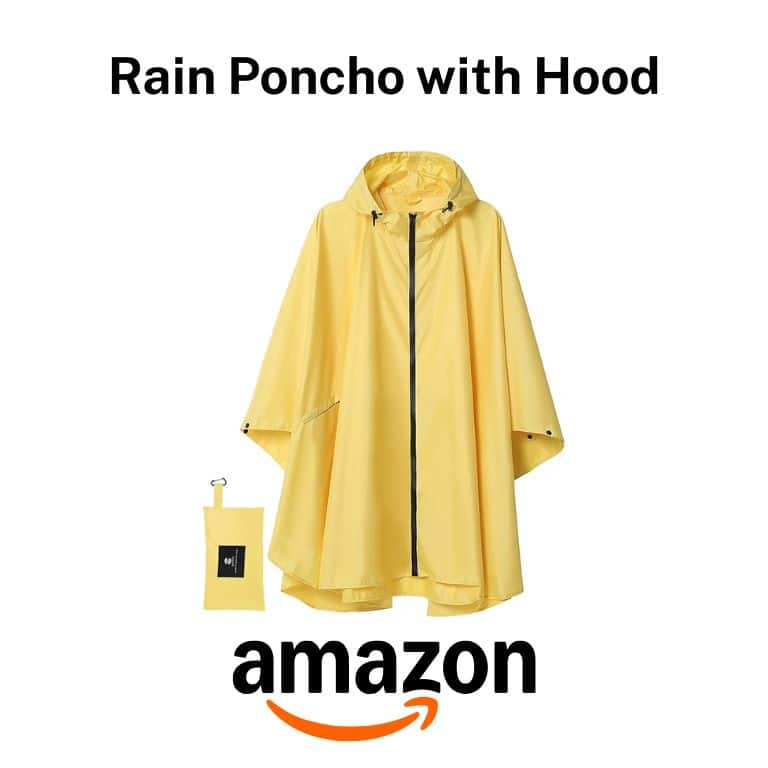
Rain Jacket: rainstorms can happen anytime when you’re on the trail, so stay dry and warm with a fleece-lined rain jacket.
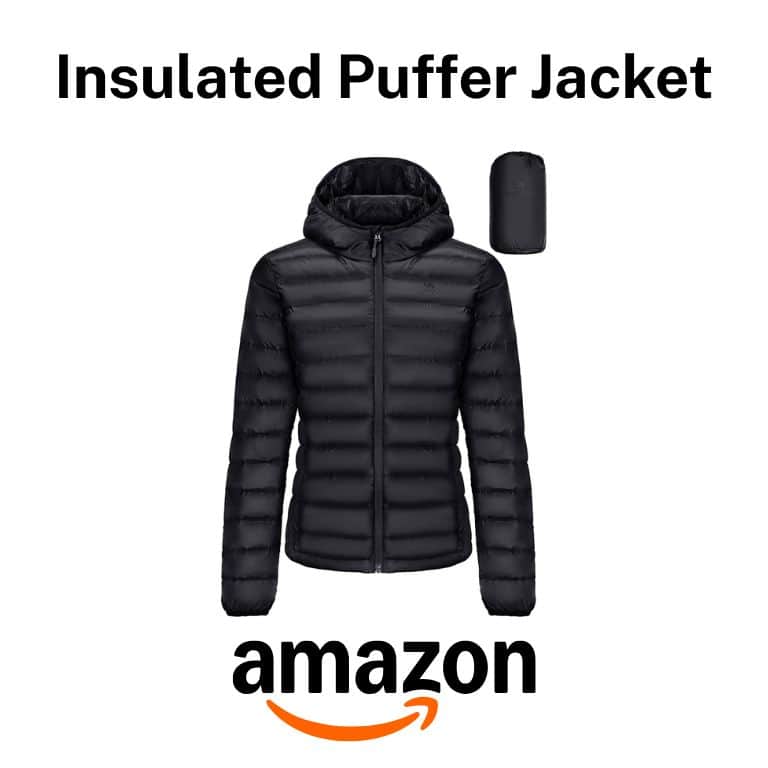
Puffer Jacket: the weather in mountain areas can change at any moment, and temperatures can be cooler than lower elevations, so keep a puffer jacket with you to stay warm.
Gloves: hands are one of the first parts of our bodies that get cold, so keep them warm with gloves in the colder temperatures.
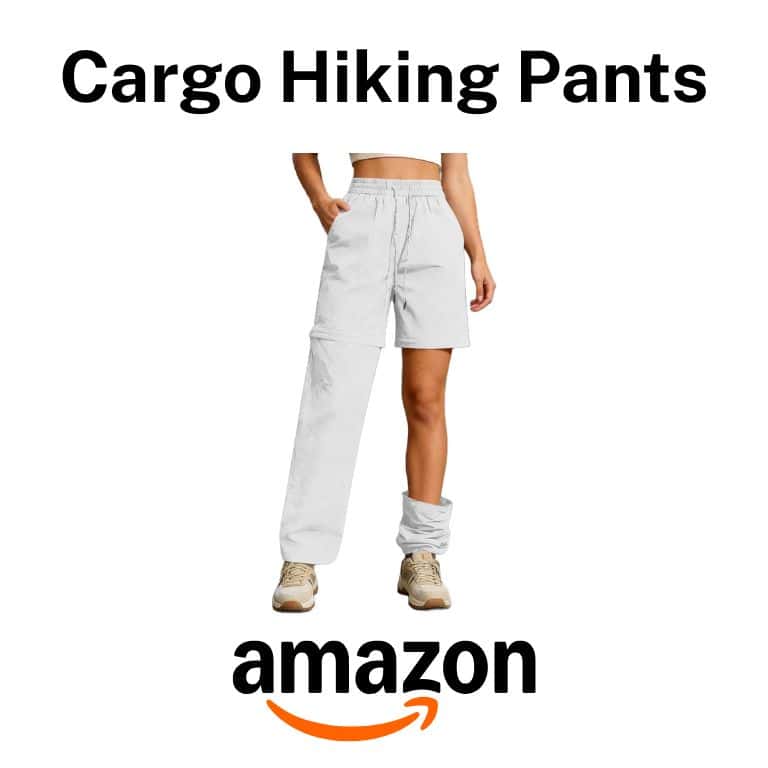
Cargo Pants: perfect for any hike; wear them as pants or turn them into shorts when the weather warms up, and stay dry thanks to their waterproof feature.
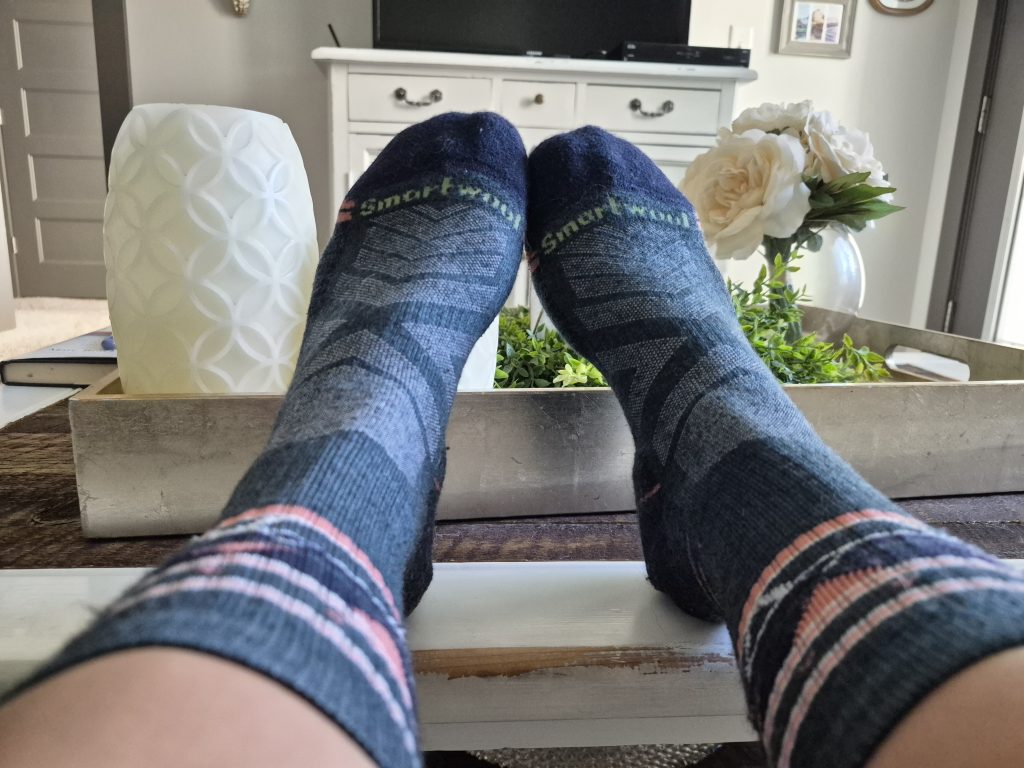
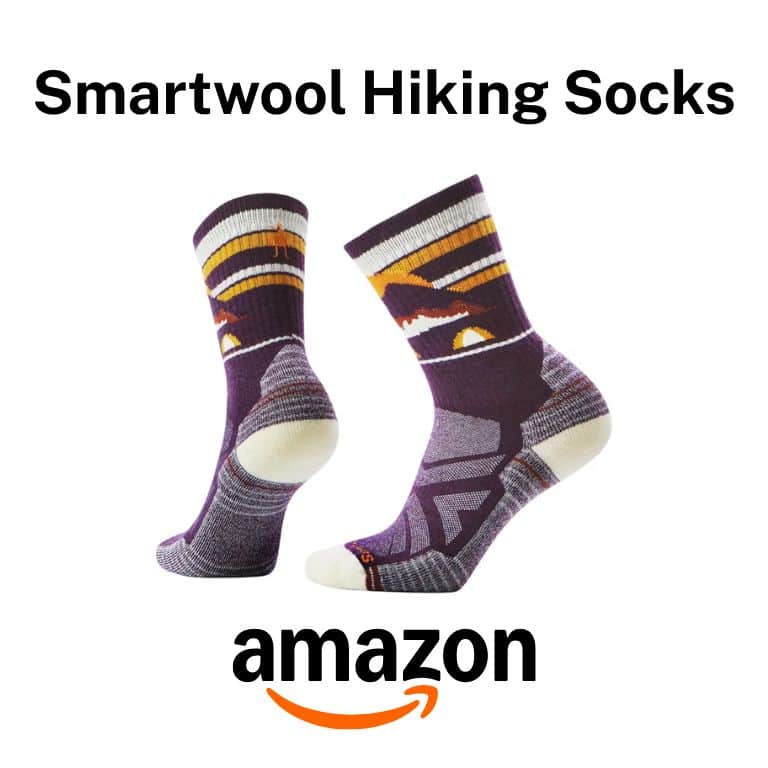
Wool Socks: keep your feet dry and blister-free. My favorite brand is SmartWool because they come in fun designs and in different activity levels.
Be sure to check the weather at your hiking location before you depart. Some hikes are in areas that don’t receive cell service, so checking the weather before leaving is crucial. Weather can change in an instant, so it is best to be prepared for all types of weather.
Review Trail Conditions
Trails can close unexpectedly due to rockslides, snow, mudslides, fire, etc. They can also have different weather patterns than the area you are currently in. So, read the most recent reviews for the trail either on AllTrails or Strava to ensure it’s accessible and check its conditions.
My Top Hiking Tips
Follow “Leave No Trace” Principles. There are seven principles in total, and they are as follows: plan ahead and prepare, travel and camp on durable surfaces, dispose of waste properly, leave what you find, minimize campfire impacts, respect wildlife, and be considerate of other visitors. Read here for more information.
Download offline maps. When in the backcountry, there is no guarantee of cell service, so ensure you have driving directions and the trail map predownloaded.
Tell people where you are headed. For your safety, keep people posted on where you will be going, who you will be going with, and how long you intend to be out.
Stay hydrated. Hydration is key while hiking because you may sweat more than normal. So pack some electrolytes, bring more water than you think you need, and pack a water filter as backup.
Don’t forget snacks. Hiking requires a lot of energy, so keep some high-protein snacks with you at all times.
And there you have it! The perfect recipe on how to plan for your next hiking excursion, with the must-haves to bring.
Below you will find free printable lists you can use for your next hike. And, if you are looking for more hiking resources, visit my resource page for more items that might suit your needs.
Hey there! I’m Caitlyn, the brains behind The Traveler’s Ingredients. I’m an amateur chef, baker, and avid food lover who is also passionate about visiting every corner of the world that I can! I am adamant about recreating dishes that I fell in love with in my travels, mastering comfort meals, and building packing lists to ease pre-trip jitters.
The Traveler’s Ingredients contains affiliate links and is a member of the Amazon LLC Associates Program. If you make a purchase using one of these Amazon links, we may receive compensation at no extra cost to you. Read our disclaimer for more information. Let your inner Disney Adult shine. Wear the ears, buy the matching…
The Traveler’s Ingredients contains affiliate links and is a member of the Amazon LLC Associates Program. If you make a purchase using one of these Amazon links, we may receive compensation at no extra cost to you. Read our disclaimer for more information. Bring along versatile clothing that works in both hot, humid climates and…
The Traveler’s Ingredients contains affiliate links and is a member of the Amazon LLC Associates Program. If you make a purchase using one of these Amazon links, we may receive compensation at no extra cost to you. Read our disclaimer for more information. Whether you are camping for the first time or the umpteenth time,…
The Traveler’s Ingredients contains affiliate links and is a member of the Amazon LLC Associates Program. If you make a purchase using one of these Amazon links, we may receive compensation at no extra cost to you. Read our disclaimer for more information. Minimize headaches and last-minute panic by bringing along essential items needed for…
The Traveler’s Ingredients contains affiliate links and is a member of the Amazon LLC Associates Program. If you make a purchase using one of these Amazon links, we may receive compensation at no extra cost to you. Read our disclaimer for more information. Okay, so you’ve booked your next extended vacation! What’s next? After checking…
The Traveler’s Ingredients contains affiliate links and is a member of the Amazon LLC Associates Program. If you make a purchase using one of these Amazon links, we may receive compensation at no extra cost to you. Read our disclaimer for more information. From brushing your teeth to washing your hair, I have you covered…